Last updated: August 14, 2026
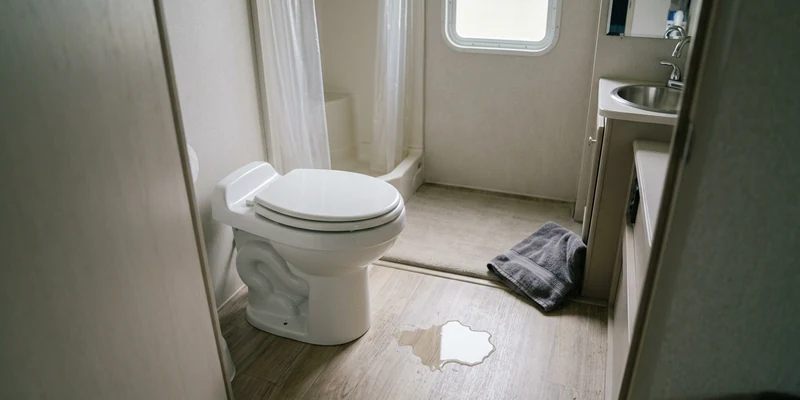
You walk into the bathroom in socks and find the floor damp again. Nothing dripped while you were watching, the bowl looks fine, and yet there is water where there should not be any. An RV toilet leaking is one of those repairs that feels intimidating and almost never is, because the part that fails first is a rubber seal that costs less than a tank of fuel and swaps out in an afternoon.
In most rigs, the culprit is the flush ball seal, the rubber ring the blade closes against at the bottom of the bowl. When it dries out, cracks, or traps grit, the bowl stops holding water and the seepage finds its way out around the base. The other usual suspects are the water valve behind the toilet and the supply line fitting. This guide walks the leak from cheapest check to actual part replacement, and it is honest about the point where a wet floor stops being a plumbing job and becomes a floor job.
This article contains affiliate links. If you buy through them, we may earn a commission at no extra cost to you. Learn more.
Quick Answer
Why is your RV toilet leaking?
- If the bowl will not hold water and the floor is wet after a flush, the flush ball seal is the first thing to clean, lubricate, and then replace.
- If the leak only appears while the pump runs or the pedal is held, look at the water valve, the supply line fitting, and the hose clamps behind the toilet.
- Free checks come first: dry everything, run one system at a time, and find the source before ordering a single part.
Symptoms, Causes, and Actions at a Glance
Where the water shows up tells you almost everything. Dry the whole area first, then run one system at a time and watch. This table matches the pattern you see to the part that usually causes it.
| What you see | What it usually means | What to do |
|---|---|---|
| Bowl empties on its own overnight | Flush ball seal dried, cracked, or holding grit | Clean and lubricate the seal, replace it if it stays leaky |
| Water around the base after flushing | Seepage from the bowl running down the outside | Confirm the seal before touching the floor flange |
| Drip only while the pedal is pressed | Water valve or its internal seal | Replace the water valve assembly for that model |
| Wet only when the pump is on | Supply line fitting, hose clamp, or vacuum breaker | Tighten by hand first, then replace the fitting or line |
| Steady wet ring at the floor, no bowl loss | Floor flange seal or loose mounting nuts | See our guide to a leak at the base |
| Leak appeared right after a freeze | Cracked valve body, fitting, or bowl | Inspect for hairline cracks; cracked parts get replaced, not sealed |
| Odor plus dampness, bowl holds water | Tank vent or seal at the tank side, not the toilet | Check the black tank before buying toilet parts |
Start With the Checks That Cost Nothing
Before ordering parts, spend twenty minutes proving where the water comes from. Turn off the water pump and disconnect city water, then dry the bowl, the base, and the floor completely with paper towels. Lay fresh dry towels around the base and leave the bathroom alone for an hour.
Then reintroduce one thing at a time. Fill the bowl with water only, leaving the pump off, and watch for thirty minutes: water disappearing from the bowl points at the flush ball seal. Next, turn the pump back on and listen. If the pump cycles every few minutes with no faucet open, you have a pressurized leak somewhere on the fresh side, which is a different hunt entirely and is covered in why your RV water pump keeps running.
Read the wet pattern
Water that appears behind the toilet and runs forward is a supply side leak. Water that pools evenly all the way around the base usually came over the rim of the flange or down the outside of the bowl. A wet spot that only grows while someone stands on the pedal is the valve. Owners waste more money on guessed parts than on any other step of this repair.
The Flush Ball Seal: The Repair Most Owners Need
The flush ball seal is a rubber ring seated in the bottom of the bowl that the blade or ball closes against. It holds the small pool of water that keeps tank odor out of the coach. It fails from drying out during storage, from calcium and grit, and from being closed on debris.
Start with cleaning. Hold the pedal partway so the blade opens, and wipe the seal groove with a soft cloth and warm water. Grit trapped under the seal mimics a failed seal perfectly. Follow with a light coat of a non petroleum plumbing lubricant made for rubber seals, since petroleum jelly and cooking oils swell and destroy the rubber over time.
Owners commonly report that cleaning and lubricating buys months on a seal that had started to weep, and nothing at all on one that is cracked. If the bowl still drains overnight after a proper clean, replace the seal.
Seal kits are model specific. Read the label inside the bowl or on the back of the toilet, note the brand and model, Thetford Aqua Magic and Dometic 300 series toilets each use their own part, and buy the kit that matches it rather than a universal ring.
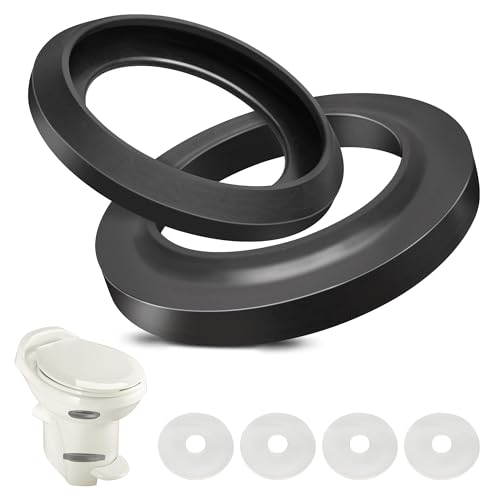
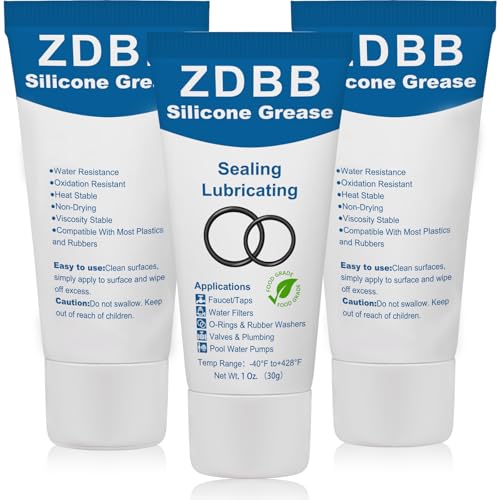
The lubricant is the other half of the job, and the same tube keeps the new seal alive through winter storage.
Leaks From the Water Valve and Supply Line
If the floor is only wet while water is flowing, the leak is on the fresh water side and the tank has nothing to do with it. The parts involved are the water valve behind or beside the toilet, the short supply line to it, the hose clamp or threaded fitting, and on models with a hand sprayer, the vacuum breaker.
Turn off the pump and city water first, then open a faucet to release pressure. Dry the fittings and feel each one with a paper towel; the towel finds slow leaks your eyes miss. A threaded fitting that weeps usually needs to be taken apart, cleaned, rewrapped with plumbing tape, and hand tightened, not cranked down harder.
When the valve itself is the problem
A valve that drips from the body rather than a fitting is worn internally, and replacing the valve assembly is a bolt off, bolt on job on most RV toilets. Buy the assembly listed for your exact model, since the mounting pattern and the water inlet differ between brands. Freeze damage is a common cause here, so if this happened after a cold snap, inspect the plastic body carefully for hairline cracks before you reuse anything.
When the Leak Is at the Base
Water pooling in a ring at the floor, while the bowl still holds water normally, points at the seal between the toilet and the floor flange, or at mounting nuts that have loosened with road vibration. That repair involves lifting the toilet, so we cover it step by step in our guide to an RV toilet leaking at the base.
Do not start there by default. Seepage from a failed flush ball seal runs down the outside of the bowl and collects in exactly the same ring, which sends plenty of owners chasing a flange seal that was never bad. Prove the bowl holds water overnight first.
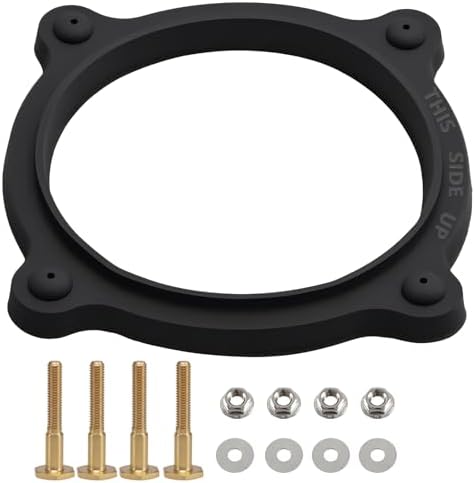
If you do pull the toilet, this is the moment to replace the base seal rather than reuse a compressed one.
When This Is Not a Home Repair
Seals, valves, and supply fittings are genuinely owner level work. Three situations are not, and pushing through them costs far more than the call out.
- A soft or spongy floor around the toilet. That is water in the subfloor, and it needs the floor opened up and assessed, not a new gasket.
- A cracked or broken floor flange. If the flange lifts, spins, or has broken ears, the fix involves the drain pipe and often the tank fitting below the floor. That is shop work.
- Anything leaking on the tank side of the floor. Fittings, elbows, and the tank flange live under the coach and are frequently glued or welded. A mobile RV technician handles that far faster than you will.
Also treat black tank contents with normal caution: wear disposable gloves, keep tools used on the waste side separate, and wash up afterward. It is basic hygiene, not drama.
Keeping the Next Leak From Happening
Nearly every seal we replace early was killed by dryness or grit. Leave water in the bowl when the rig sits, because a seal that dries out is a seal that cracks. Before winter storage, clean the seal groove and give it a fresh coat of the right lubricant.
Use plenty of water when flushing, since solids dragged across a dry seal are what scratch it, and add water to the bowl before use rather than after. Check the mounting nuts once a season with hand tools only; plastic bases crack when they are torqued like a car part. And if your water source runs hard, scale on the seal is a real factor, which is part of why many full time owners run a filtered water system.
Common Mistakes to Avoid
- Replacing the base seal first. It is the harder job and rarely the cause. Prove the bowl holds water before lifting anything.
- Using petroleum jelly on rubber seals. It swells and degrades them. Use a lubricant sold for plumbing seals.
- Buying a universal seal. RV toilet seals are model specific. Match the brand and model number on the toilet.
- Overtightening the floor nuts. The plastic base cracks, and then you are buying a toilet instead of a gasket.
- Ignoring a pump that cycles by itself. That is a pressurized leak, and it can be soaking somewhere you cannot see.
- Sealing a crack with caulk. Cracked plastic parts get replaced. Sealant on a pressurized fitting buys days, not seasons.
Frequently Asked Questions
Why does my RV toilet not hold water in the bowl? Almost always the flush ball seal. Clean the groove, lubricate it with a non petroleum plumbing lubricant, and if the bowl still empties overnight, replace the seal kit for your model.
Can I use plumbers putty or silicone caulk on an RV toilet seal? No. These toilets seal with molded rubber parts that have to move and compress. Caulk changes the geometry and usually makes the leak worse a week later.
How long does an RV toilet seal last? Owners commonly report several seasons of use, much less if the rig is stored dry or the water is hard. Seals fail from drying out at least as often as from wear.
Is water at the base always the base seal? No, and this is the classic misdiagnosis. Water leaking past the flush ball seal runs down the outside of the bowl and collects at the base, so start with the bowl. If it does turn out to be the base, our base seal guide covers the swap.
Can a clogged black tank make the toilet leak? It can push water and odor back up past a marginal seal, yes. If flushing is slow or the tank reads full when it should not, deal with the clog first.
Do I need to turn off the water to change the flush ball seal? Yes. Switch off the pump, disconnect city water, and open a faucet to release pressure before working on anything connected to the fresh side.
The Bottom Line
Find the leak before you buy a part: dry everything, fill the bowl with the pump off, then run the pump and watch. A bowl that empties overnight is the flush ball seal, a drip only under pressure is the valve or a fitting, and a ring at the floor with a healthy bowl is the base seal. Seals and valves are owner level repairs; a soft floor or a broken flange is not.